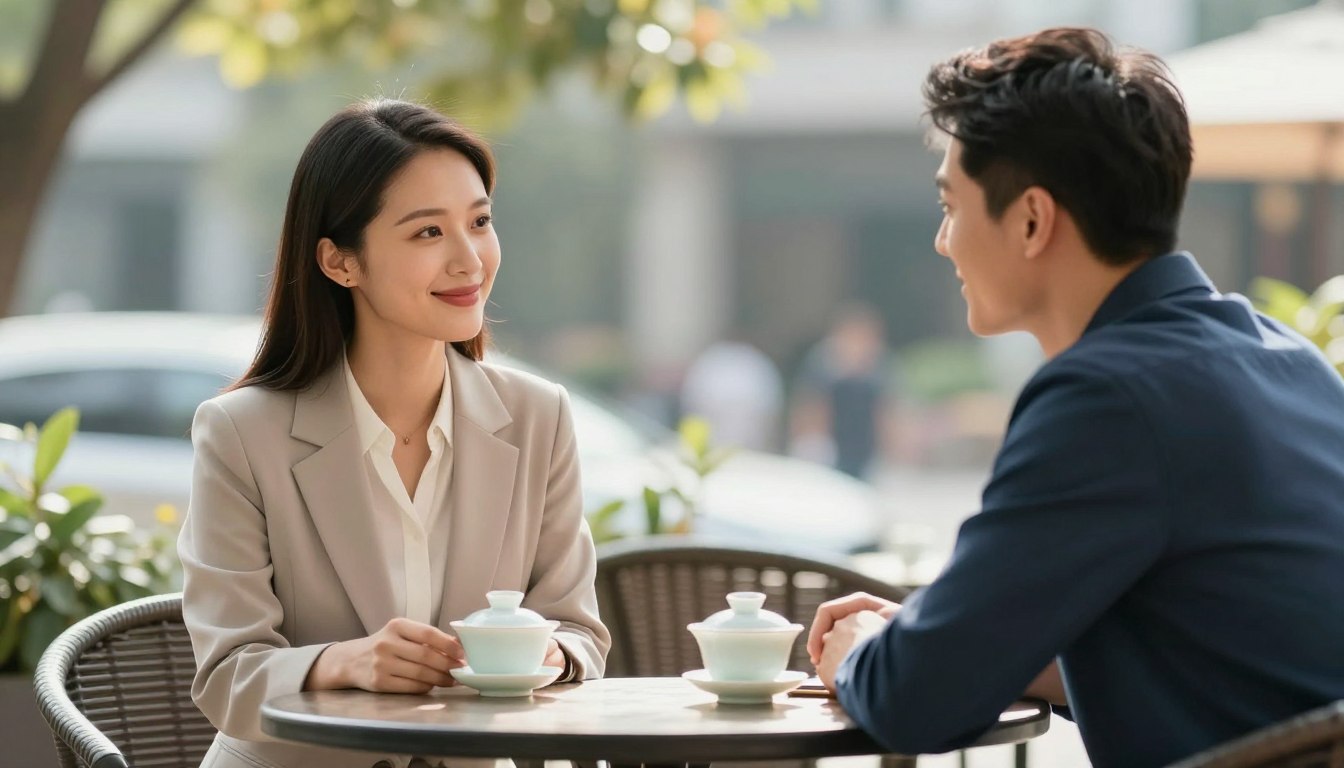
Did you know that 77% of Americans experience physical symptoms caused by daily tension? Modern life bombards us with endless demands, leaving millions searching for effective ways to unwind.
The solution might be simpler than you think. Combining therapeutic light therapy with visualization techniques creates a powerful duo for deep relaxation. This innovative approach harnesses your body’s natural healing responses while calming your mind.
Both methods have solid scientific backing. Phototherapy helps regulate your nervous system, while mental imagery activates your brain’s relaxation centers. Together, they work like a one-two punch against tension.
This gentle combination offers something traditional methods often miss. You get physical benefits from the therapeutic wavelengths plus mental peace from focused visualization. The best part? You can practice this anywhere, anytime.
Key Takeaways
- Combining light therapy with visualization creates deeper relaxation than using either method alone
- This dual approach targets both physical and mental aspects of tension simultaneously
- Both techniques have strong scientific support for reducing daily pressure
- The method is accessible and can be practiced in various settings
- Regular practice helps regulate your nervous system naturally
Find Your Calm: The Science Behind Effective Stress Relief
Your body’s stress response is like an alarm system that sometimes gets stuck in the “on” position. When you face a stressful situation, your brain instantly releases hormones like cortisol and adrenaline. These chemicals prepare you to fight or flee from danger.
The problem starts when this alarm keeps ringing day after day. Chronic stress keeps your nervous system in overdrive, affecting everything from your sleep patterns to your immune function. Many traditional stress management techniques only address surface symptoms instead of the root cause.
Here’s what happens inside your body during prolonged stress:
- Your heart rate stays elevated
- Muscle tension builds up and persists
- Stress hormones flood your bloodstream
- Your mind races with worried thoughts
Most people try to tackle stress with either physical or mental approaches alone. Mental health wellness requires addressing both aspects simultaneously. Your mind and body work as a team, so effective relief must target both systems.
This is where modern stress management techniques shine. By combining physical therapies with mental exercises, you create a powerful one-two punch against stress. Your body learns to relax while your mind finds peace, creating lasting relief instead of temporary fixes.
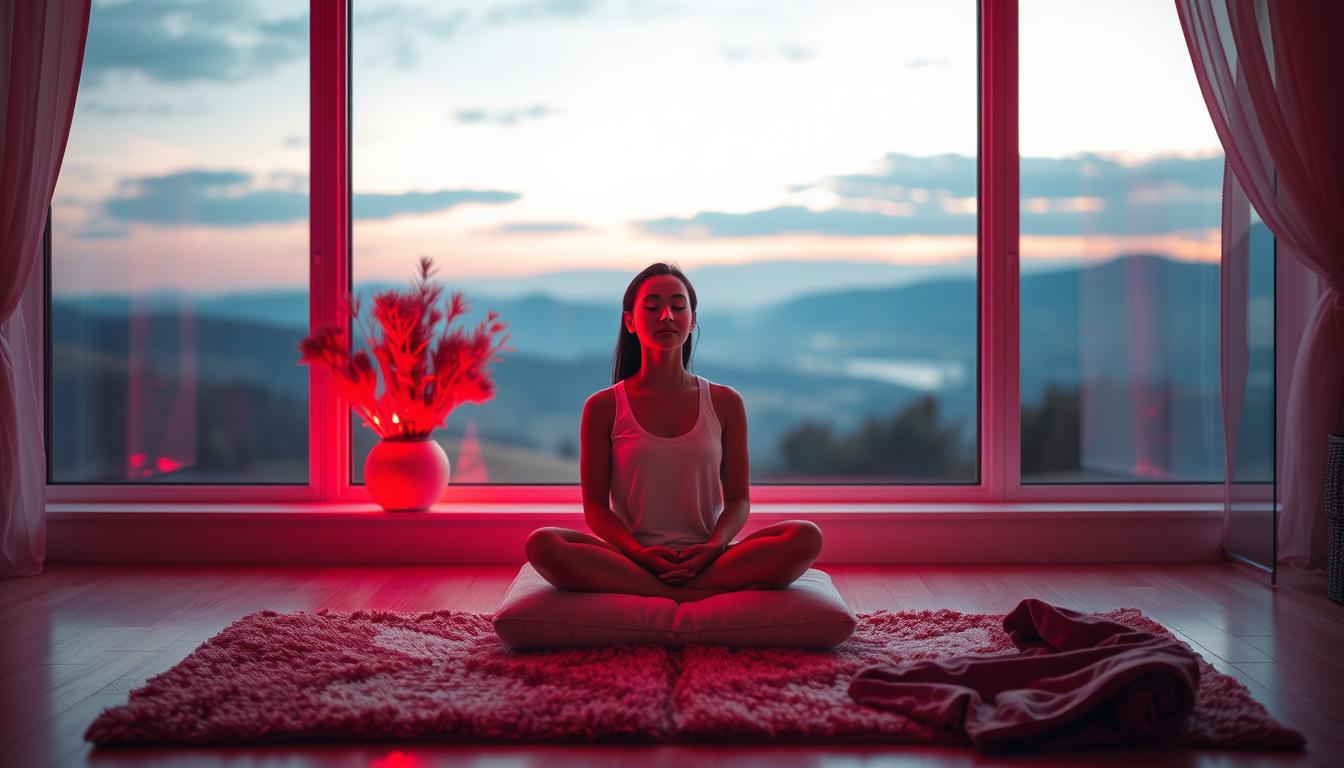
Understanding Red Light Therapy for Stress Management
Light therapy has emerged as one of the most effective holistic stress relief approaches available today. This innovative treatment uses specific wavelengths of red and near-infrared light to promote relaxation and reduce stress naturally.
The therapy works by delivering targeted light energy directly to your cells. This process helps your body activate its own healing mechanisms without any side effects.
What Red Light Therapy Is and How It Works
Red light therapy uses wavelengths between 660-850 nanometers to penetrate your skin. These specific frequencies reach deep into your tissues and cells.
The light energy stimulates your mitochondria, which are the powerhouses of your cells. This boost helps your body produce more energy and repair itself more effectively.
How Red Light Reduces Stress in Your Body
This light therapy approach reduces inflammation throughout your body. Lower inflammation means less physical stress on your system.
The treatment also helps regulate cortisol levels. Cortisol is your main stress hormone, so keeping it balanced is crucial for feeling calm and relaxed.
Priming Your Nervous System for Relaxation
Red light therapy activates your parasympathetic nervous system. This is your body’s “rest and digest” mode that promotes deep relaxation.
The therapy creates the perfect foundation for other stress-relief practices. Your body becomes more receptive to relaxation techniques when it’s already in a calm state.
| Red Light Benefit | Stress Impact | Timeline |
|---|---|---|
| Reduced Inflammation | Lower physical stress | 2-4 weeks |
| Cortisol Regulation | Balanced stress hormones | 3-6 weeks |
| Nervous System Activation | Enhanced relaxation response | Immediate |
| Cellular Energy Boost | Improved stress resilience | 1-3 weeks |
The Power of Guided Imagery in Stress Reduction
Your mind holds incredible power to transform stress into calm through guided imagery. This mental practice combines focused attention with creative visualization to create profound relaxation responses. Guided imagery works by redirecting your thoughts away from stressful situations toward peaceful, healing mental landscapes.
What Guided Imagery Involves
Guided imagery sessions typically begin with deep breathing and progressive muscle relaxation. You’ll then follow verbal instructions that paint vivid mental pictures of serene environments. These might include walking through a peaceful forest, floating on calm water, or basking in warm sunlight.
The process engages multiple senses beyond just sight. You’ll imagine sounds, smells, textures, and even tastes that make the experience feel remarkably real to your nervous system.
How Visualization Techniques Calm Your Mind
Visualization techniques trigger your body’s relaxation response by activating the parasympathetic nervous system. When you imagine peaceful scenes, your brain releases endorphins and reduces cortisol production. This biochemical shift naturally lowers heart rate, blood pressure, and muscle tension.
Research shows that your brain responds to imagined experiences similarly to real ones. This means visualization can create genuine physiological changes that reduce stress.
Training Your Brain for Mental Peace
Regular practice of mindfulness meditation through guided imagery literally rewires your brain. Each session strengthens neural pathways associated with calm and relaxation. Over time, your mind becomes more skilled at accessing peaceful states quickly.
This mental training builds resilience against future stressors. Your brain learns to default to calm rather than anxiety when challenges arise.
Why Red Light and Guided Imagery for Stress Relief Work Better Together
The combination of red light therapy and guided imagery creates a powerful synergy that transforms how your body responds to stress. When you use these anxiety reduction methods together, they address stress from multiple angles at once. Your body receives physical healing while your mind enters a calm, focused state.
This dual approach creates a feedback loop of relaxation. The red light reduces inflammation and muscle tension, making it easier for your mind to let go of worries. Meanwhile, guided imagery helps your nervous system shift into rest mode more quickly.
The Mind-Body Connection Advantage
Your mind and body communicate constantly through your nervous system. Red light therapy works on the physical side by reducing cortisol levels and promoting cellular repair. Guided imagery targets the mental side by calming racing thoughts and creating positive mental states.
When combined, these techniques strengthen your natural mind-body connection. The physical relaxation from red light makes your mind more receptive to visualization. The mental calm from imagery helps your body release deeper layers of tension.
Achieving Deeper Relaxation States
Using both methods together helps you reach what experts call flow states – periods of deep focus and calm. Red light prepares your body by reducing physical stress markers. This preparation allows guided imagery to work more effectively, taking you into profound relaxation.
Many people find they can meditate deeper and longer when combining these approaches. The red light creates a soothing physical environment that supports extended visualization sessions.
Creating Powerful Stress-Relief Rituals
Combining red light and guided imagery gives you a structured, reliable daily practice. This consistency is crucial for long-term stress management success.
| Combination Benefits | Red Light Alone | Guided Imagery Alone |
|---|---|---|
| Physical + Mental Relief | Physical Relief Only | Mental Relief Only |
| Enhanced Focus During Practice | Limited Mental Engagement | No Physical Preparation |
| Structured Daily Ritual | Basic Light Exposure | Variable Meditation Success |
| Faster Stress Response | Gradual Physical Changes | Requires Mental Effort |
Step-by-Step Guide to Your Combined Stress-Busting Session
Creating your perfect stress-relief session starts with gathering the right tools and setting up your space properly. The beauty of combining red light therapy with guided imagery lies in its simplicity. You don’t need expensive equipment or a fancy setup to begin these powerful relaxation exercises.
Choosing Your Red Light Equipment
Your red light device serves as the foundation of your stress-relief practice. Panel devices work best for full-body treatment and cost between $200-$800. They cover large areas and let you relax hands-free during your session.
Handheld devices offer portability and precision targeting. They’re perfect for beginners and cost $50-$200. Full-body systems provide the most comprehensive coverage but require a bigger investment of $1,000 or more.
| Device Type | Coverage Area | Price Range | Best For |
|---|---|---|---|
| Panel Device | Large body sections | $200-$800 | Daily home use |
| Handheld Device | Targeted spots | $50-$200 | Beginners, travel |
| Full-Body System | Entire body | $1,000+ | Serious practitioners |
| Wearable Wraps | Specific body parts | $100-$400 | Joint-focused relief |
Setting Up Your Relaxation Environment
Your environment plays a crucial role in successful relaxation exercises. Choose a quiet room where you won’t be disturbed for 20-30 minutes. Dim the overhead lights to create a calming atmosphere.
Set your room temperature between 68-72°F for optimal comfort. Place a comfortable chair or yoga mat where your red light can reach you easily. Remove distractions like phones, tablets, and noisy appliances from your space.
Preparing Your Skin for Light Therapy
Clean skin absorbs red light more effectively than dirty or oily skin. Wash the treatment area with gentle soap and water. Pat your skin dry with a clean towel.
Remove any lotions, makeup, or sunscreen from the target area. These products can block light penetration and reduce treatment effectiveness. Bare skin works best for red light therapy sessions.
“The key to successful light therapy is consistent skin preparation and proper positioning. Clean skin and the right distance make all the difference in your results.”
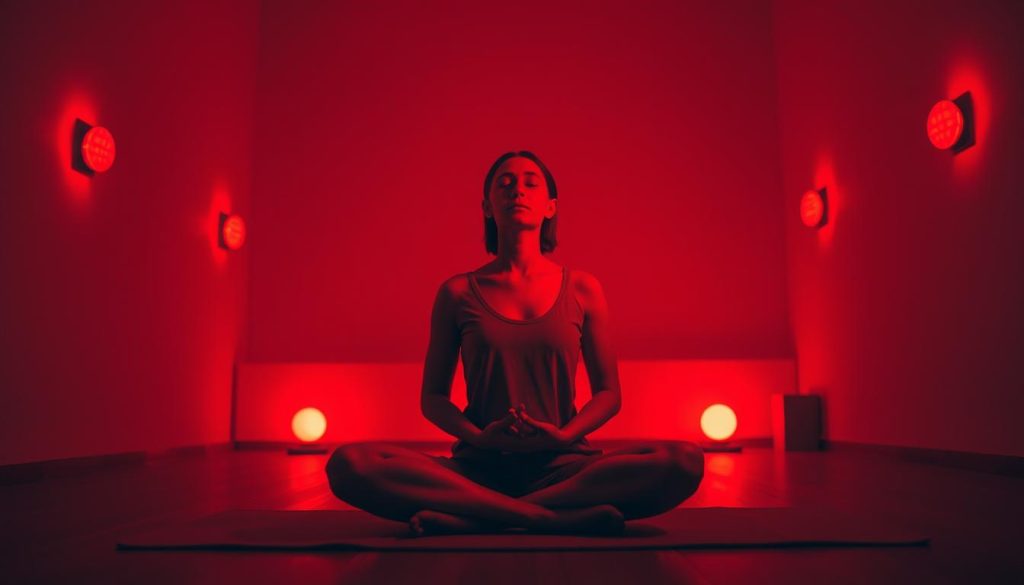
Starting Your Red Light Treatment
Position yourself 6-12 inches away from your red light device. This distance ensures optimal light penetration without overheating your skin. Start with 10-15 minute sessions and gradually increase to 20 minutes as your body adapts.
Turn on your device and settle into a comfortable position. Close your eyes and begin focusing on your breathing. This transition marks the perfect moment to begin your guided imagery practice while the red light works on your body.
Mastering the Guided Imagery Process During Light Therapy
With red light warming your skin, you’re ready to embark on a transformative mental journey. The combination of physical warmth and mental visualization creates one of the most effective self-care practices available today. This process requires gentle focus and patience as you learn to guide your mind while your body absorbs healing light.
Beginning Your Mental Journey
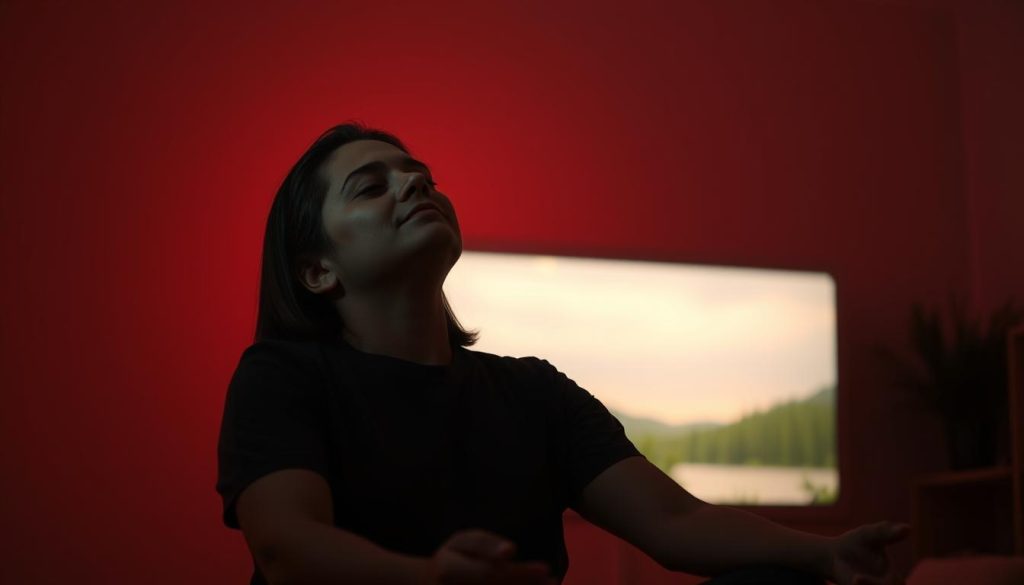
Start by closing your eyes gently and feeling the red light’s warmth on your skin. Let this sensation anchor you to the present moment. Begin with simple progressive muscle relaxation, starting from your toes and working upward.
Choose a peaceful place in your mind – perhaps a quiet beach, mountain meadow, or cozy cabin. Don’t force the imagery; let it flow naturally as the red light continues its healing work.
Engaging All Five Senses in Your Visualization
Make your mental sanctuary come alive by engaging every sense:
- Sight: Notice colors, textures, and movement in your peaceful place
- Sound: Hear gentle waves, rustling leaves, or soft music
- Touch: Feel warm sand, cool grass, or soft fabric
- Smell: Breathe in ocean air, pine scent, or fresh flowers
- Taste: Imagine refreshing water or your favorite calming tea
Incorporating Deep Breathing Techniques
Sync your breath with the red light’s rhythm. Inhale slowly for four counts, hold for four, then exhale for six counts. This pattern enhances both the light therapy benefits and your visualization depth.
Let each breath carry you deeper into relaxation while the red light continues working on your body’s stress response.
Gradually Returning to Present Awareness
As your session nears completion, slowly bring your attention back. Count backward from five, wiggling fingers and toes. Open your eyes gently, feeling refreshed and centered from this powerful healing combination.
Essential Tips for Maximum Stress Relief Results
Maximizing your stress relief journey with red light and guided imagery involves key practices that amplify healing benefits. These proven stress management techniques help you get the most from each session. Success comes from understanding how to optimize both your approach and expectations.
Maintaining Consistency in Your Daily Practice
Regular practice creates the foundation for lasting change. Your brain needs time to form new neural pathways that support relaxation. Aim for sessions at the same time each day to build a natural rhythm.
Even short 10-minute sessions work better than occasional long ones. Consistency supports your mental health wellness more effectively than sporadic intense efforts. Your body learns to anticipate and prepare for these healing moments.
Being Patient with Your Healing Progress
Some people feel immediate calm during their first session. Others notice gradual changes over several weeks. Both experiences are completely normal and valid.
Track your progress in a simple journal. Note your stress levels before and after each session. This helps you recognize subtle improvements you might otherwise miss.
Finding Your Personal Visualization Happy Place
Your ideal mental sanctuary should feel completely safe and peaceful. This might be a childhood bedroom, a dream beach, or an imaginary forest clearing. The key is choosing a place that instantly makes you feel deeply relaxed.
Spend time developing rich details about your chosen location. What do you see, hear, smell, and feel there? The more vivid your mental image, the more powerful your relaxation response becomes.
Listening to Your Body's Response Signals
Your body provides valuable feedback during each session. Notice areas where tension melts away first. Pay attention to changes in your breathing pattern and heart rate.
Some days you might need longer to reach deep relaxation. Other times, you’ll drop into calm states quickly. Trust your body’s wisdom and adjust session length accordingly.
| Session Element | Beginner Approach | Advanced Practice | Key Benefits |
|---|---|---|---|
| Daily Consistency | 10-15 minutes daily | 20-30 minutes daily | Stronger neural pathways |
| Progress Tracking | Simple mood notes | Detailed wellness journal | Clear improvement patterns |
| Visualization Detail | Basic scene imagery | Multi-sensory experiences | Deeper relaxation states |
| Body Awareness | Notice obvious changes | Detect subtle shifts | Personalized session timing |
Transform Your Daily Life with Natural Stress Management
You now possess the complete roadmap to create your own powerful stress-relief sanctuary. Combining red light therapy with guided imagery offers you a proven path to deeper calm and lasting peace.
This dual approach targets stress from multiple angles. Your body receives healing light wavelengths while your mind escapes to peaceful mental landscapes. The result is profound relaxation that extends far beyond your session time.
These holistic stress relief approaches require no prescriptions or expensive treatments. You control the timing, intensity, and focus of each practice. Your bedroom, living room, or any quiet space becomes your personal wellness retreat.
Start with just 10-15 minutes daily. Notice how your sleep improves, anxiety decreases, and overall mood lifts. Your nervous system will thank you for this gentle, consistent care.
Modern life demands effective stress management tools. You deserve relief from daily pressures and worries. This natural combination gives you exactly that – a reliable method to reset your mind and restore your energy.
Begin tonight. Set up your red light device, close your eyes, and let your imagination guide you to tranquility. Your journey to better stress management starts right now.